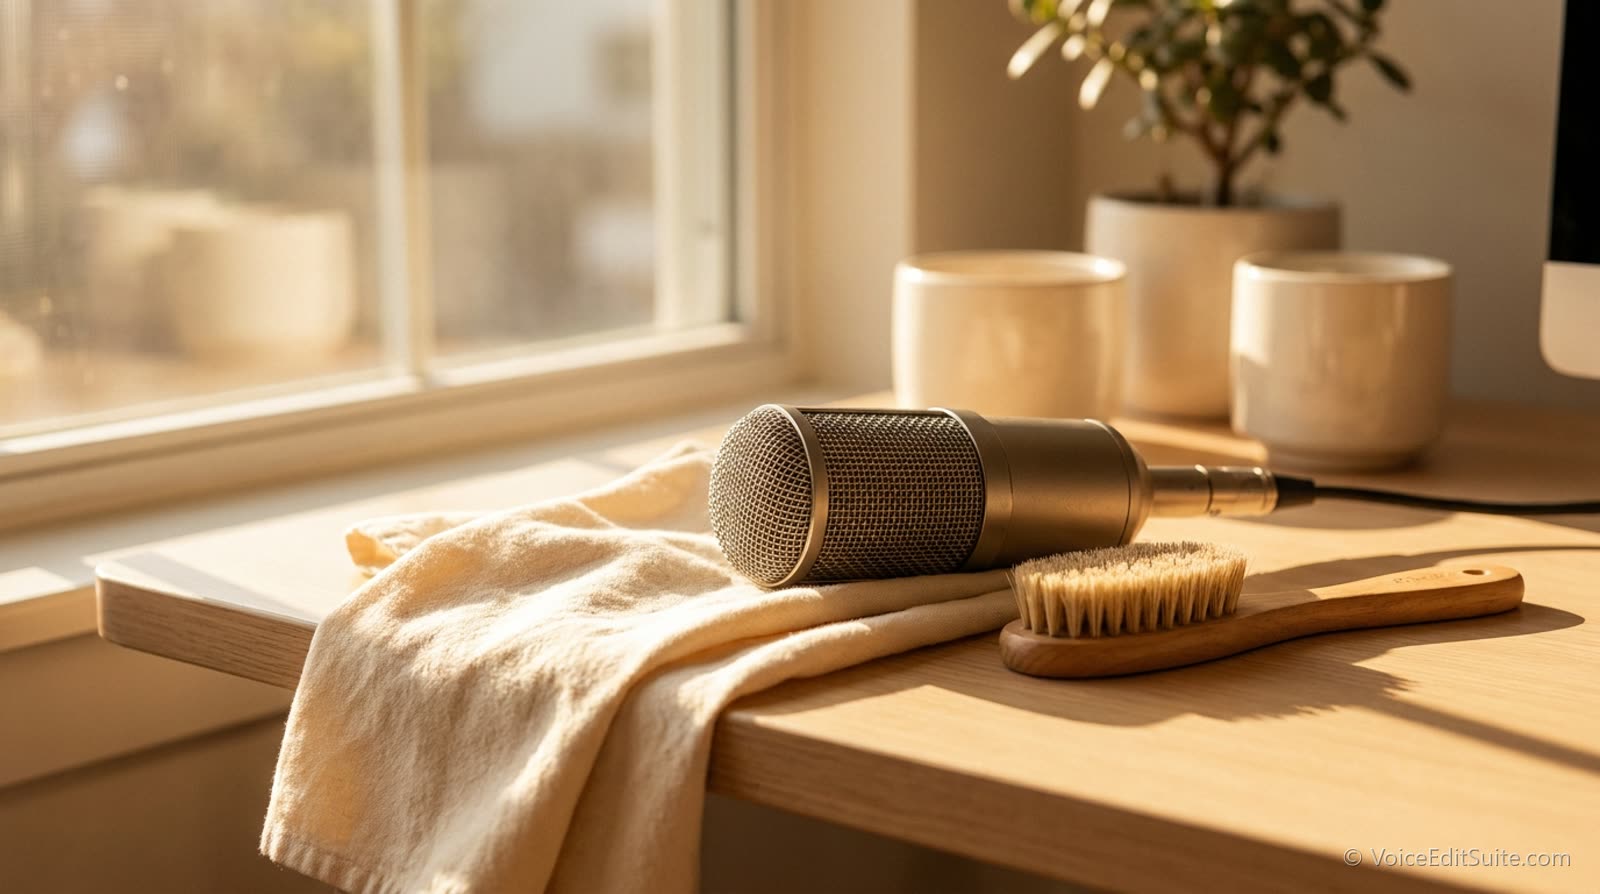
A voice over microphone is a precision instrument that sits close to a mouth for hours at a time, catching breath, saliva, and dust in roughly equal measure, and most of the maintenance it needs is simple enough to skip entirely without ever noticing until the sound has already degraded. A microphone rarely fails dramatically; it more often develops a subtle dullness, a slight increase in noise floor, or an intermittent connection that reads as a technical mystery when the actual cause is just accumulated grime or a loose cable.
After Every Session: The Habit That Prevents Most Problems
A dust cover over the microphone between sessions keeps airborne dust and, in a home studio, pet hair off the capsule, which matters more than it sounds like it should for a device that depends on a precisely tuned diaphragm. A quick wipe of the exterior body and the pop filter with a dry, lint-free cloth after a session catches saliva spray before it dries and becomes harder to remove, and takes under a minute.
- After every session: wipe down the exterior and pop filter, and cover the mic when not in use.
- Weekly: check XLR or USB cable connections for looseness, and clean or replace a foam pop filter showing visible buildup.
- Monthly: inspect the shock mount for wear in the elastic bands and check that all connectors seat firmly with no crackling.
- Yearly, for condenser microphones especially: a professional capsule check if you notice any change in sensitivity, self-noise, or frequency response.
What Not to Do to a Condenser Microphone
A condenser microphone's capsule is genuinely delicate, and a few common habits cause real, sometimes irreversible damage. Never spray any liquid cleaner directly onto or near the capsule grille; if the exterior needs more than a dry cloth, a barely dampened cloth applied to the cloth itself, not the microphone, is the safer approach. Never blow forcefully into the capsule to test it or clear dust, since the pressure can damage the diaphragm. And avoid storing a condenser microphone in a case in a damp basement or an un-air-conditioned space during a humid season; managing humidity around your gear generally protects the microphone along with everything else in the room.
A pop filter, foam windscreen, or plosive guard is cheap insurance for the capsule
Direct plosive blasts and saliva reaching the capsule are two of the most common causes of premature wear on a home studio microphone. Choosing between a pop filter and a foam windscreen matters less than simply using one consistently.
USB and XLR Microphones Have Slightly Different Failure Points
A USB microphone's most common failure point is the USB port and cable itself, since it carries both power and signal through a single connection that gets plugged and unplugged repeatedly. An XLR microphone routes signal through a separate cable to an audio interface, which means more connection points to check but also means a cable failure is a five-dollar fix rather than a microphone replacement. Keeping a spare, tested XLR cable on hand is a small investment that solves an outsized share of sudden, mysterious signal problems.
↗ Try the tool
Studio Rescue
Free to try: if a recording suddenly sounds off and you cannot tell whether it is the microphone, the cable, or the room, Studio Rescue helps narrow down what actually changed before you assume the worst about your gear.
Open Studio Rescue →Maintenance Is Cheaper Than Replacement, and Faster Than Troubleshooting
A microphone that sounds worse than it used to is a maintenance question before it is a replacement question far more often than most voice actors assume. A simple after-session wipe-down habit, a periodic check of cables and connectors, and a few things to deliberately avoid doing to a condenser capsule cover the vast majority of what actually shortens a microphone's working life.