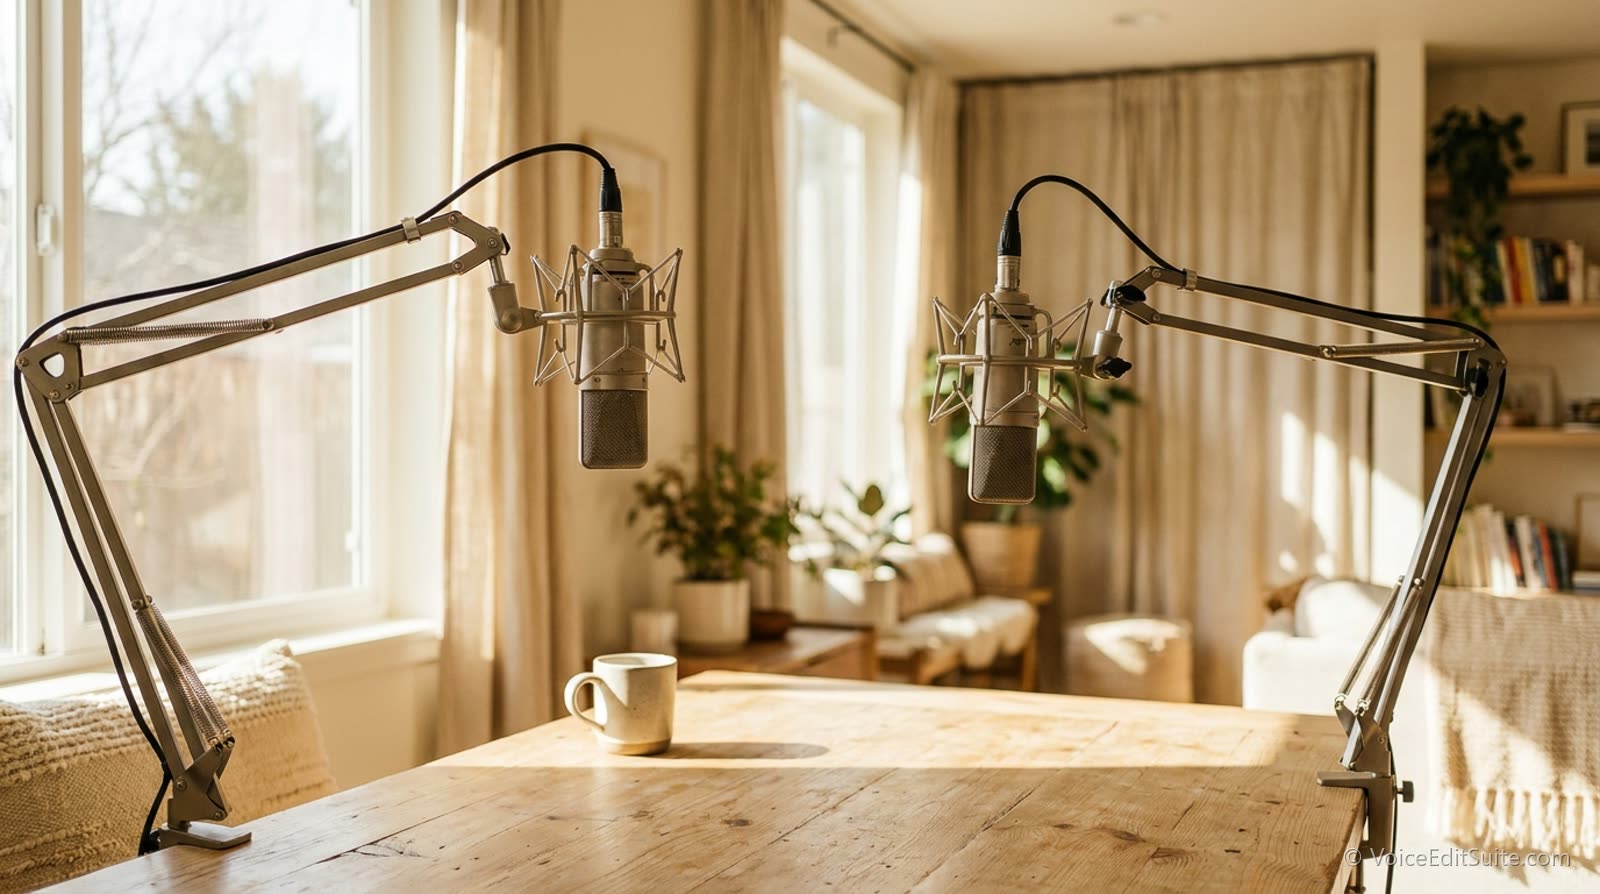
Every remote interview show has the same complaint in its reviews: "the host is fine but I can never hear the guests." It is the single most common technical failing in podcasting, more common than noise or echo, and it is almost never the host's fault or the guest's. It is a predictable outcome of two people recording in different rooms on different equipment, and it has a clean fix, provided you understand what is actually different between the two tracks.
Why the Guest Is Always the Quiet One
Three things stack up against the guest. The first is gain: you set your interface once and it is right; the guest is on whatever their laptop or phone decided, which is usually conservative. The second is distance: you are at a fist's length from a mic on an arm; they are at arm's length from a laptop, or on earbuds with the mic somewhere near their collarbone. Every doubling of distance costs about 6 dB, so a guest twice as far from their mic is already half as loud before anyone touches a fader. The third is the room: a guest in a hotel or a kitchen has a higher noise floor, so when you turn them up to match, you turn the room up with them, and you end up choosing between a quiet guest and a noisy one.
Put numbers on it and the problem is stark. A host on a decent setup typically lands around -18 LUFS on the raw track. A guest on laptop earbuds is commonly at -30 LUFS or lower, with a noise floor around -45 dB against the host's -65 dB. If you simply raise the guest by 12 dB to match, their noise floor comes up to -33 dB, which is loud enough to hear clearly in every pause. That is why the naive fix makes the episode worse, and why level matching has to be done after noise removal, not before.
What a Decibel Gap Actually Sounds Like
Decibels are a logarithmic scale, which is a polite way of saying nobody's intuition about them is right. So here is the ladder in plain listening terms, using the standard psychoacoustic rules of thumb. A one-decibel difference between two voices is invisible; nobody has ever noticed it in a conversation. Three decibels is noticeable if you are listening for it, the kind of thing a producer hears and a listener does not. Six decibels is clearly quieter; the guest sounds as if they have leaned back from the table. Ten decibels is roughly half as loud, and this is the line that matters, because it is the point where the listener's hand goes to the volume.
Now put the typical raw recording on that ladder. A host on a decent mic with the gain set once lands around -18 LUFS; a guest on laptop earbuds at arm's length commonly lands at -30 LUFS or lower. That is a 12 to 14 decibel gap, well past "half as loud", into the territory where the listener turns it up for the guest, gets hit by the host, turns it down, and misses the guest again. Every one of those adjustments is a small irritation, and the research on listening effort is clear that small irritations are read as a verdict on the show. "I can never hear the guests" is the most common technical complaint in podcast reviews for exactly this reason: it is the one fault the listener is forced to interact with.
The Remote Chain: Where the Level Gets Lost
It helps to know where the guest's volume goes, because each stage is a separate fix. It starts at the laptop microphone, which is designed for video calls and sits half a metre from the mouth behind a keyboard. The operating system applies automatic gain control, which turns the mic up in silence and down when the guest speaks, so the level is always chasing the voice and the room breathes up between sentences. Then the meeting app compresses the audio for the network, which is fine for a call and poor for a recording. If the guest is on Bluetooth earbuds, the microphone side of that link uses a low-quality codec that was designed for phone calls in 2003 and sounds like it. By the time the audio reaches your recorder it has been quietened, pumped, squashed and narrowed, and no amount of gain on your end puts back what was thrown away.
This is why serious remote shows record what is called a double-ender: each person records their own voice locally, on their own device, at full quality, and the files are combined afterwards. Most remote-recording services do this automatically now, and it is the single biggest upgrade available to an interview show, because it means the guest's track arrives as the guest's microphone heard it, not as the internet delivered it. If your setup cannot do that, the next best thing is a guest who has been asked, kindly and specifically, to use wired earbuds and sit close, which is the checklist below.
A Guest Checklist You Can Paste Into an Email
Send this the day before. It takes the guest two minutes, it costs them nothing, and it fixes more of the level problem than any plugin. Producers on professional shows send a version of it every single time; the only reason independents do not is that it feels awkward to ask, and it is not. Guests want to sound good.
- Use wired earbuds or a wired headset if you have them; the laptop mic and Bluetooth earbuds are the two things that make guests hard to hear.
- Sit so the mic is about a hand's width from your mouth. Closer than feels natural is right.
- Pick the smallest, softest room you have: a bedroom beats a kitchen, and a room with curtains beats a room with a big window.
- Shut the door, put the phone on silent in another room, and turn off anything that hums or whirs for the hour.
- If the recording link offers to record on your side, say yes; it means your voice reaches us at full quality.
- We will do a twenty-second test at the start and I will tell you if anything needs moving. Nothing else to worry about.
The Fix, in the Order That Works
- Get separate tracks. If the recording app gives you one file per participant, use them. Everything below is easier with one voice per file, and a mixed file can only be levelled as a whole.
- Take the room out of the guest's track first. Run it through noise removal before touching levels. Studio Rescue takes a hotel-room floor down by 20 dB or more while leaving the voice alone, and reports the before-and-after noise floor so you can see whether the guest is now safe to raise.
- Clean both tracks. Breaths, false starts and dead air, on each track separately, with Auto Clean Up. Do this before levelling because retakes and long gaps skew the loudness measurement.
- Level each voice to the same target, then mix. Normalise each cleaned track to the same integrated loudness. Integrated loudness, not peak: two voices with the same peak can differ by 10 dB in perceived loudness, because one speaker is spiky and the other is even.
- Deliver the mix at the platform spec. One pass through Loudness Normalizer at the podcast preset, -16 LUFS integrated with true peaks under -1 dBTP, and the episode sits at the same level as everything else in the listener's queue.
The one-upload version
Studio Rescue has an Episode mode built for exactly this: drop in one file per person, and every track is cleaned, every voice is measured and brought to the same level, and the download holds the matched stems plus a finished mix at -16 LUFS and -1 dBTP. The before-and-after numbers for each voice are on the report, so you can see the gap close.
Do not reach for a compressor to fix a level mismatch
Heavy compression on the guest track will bring the quiet words up, but it also brings the room up between them and adds the pumping, breathing quality that makes remote guests sound like a phone line. Match integrated loudness first. Use gentle compression, if at all, only for a guest whose delivery genuinely swings between a whisper and a shout.
Level Matching, Step by Step
Here is the procedure in the order that never has to be repeated, with the numbers you are aiming for at each step. It assumes two tracks; if you only have a mixed file, do steps three onward on the whole thing and accept that the guest will not fully catch up.
- Measure both tracks. Integrated loudness in LUFS for each, over the whole file, not a peak reading. Write the two numbers down. The difference is your gap; 12 to 14 dB is normal for a laptop guest.
- Take the room out of the guest track first, with the noise floor measured before and after so you can see it dropped. Do this before any gain, because whatever you raise later, the room rises with it, and one voice per file is where noise removal works best.
- Clean both tracks: breaths quietened, false starts and dead air out, each track on its own. Retakes and long gaps skew a loudness reading, so measure again afterwards.
- Close the gap with gain, not compression. Raise the cleaned guest track by the difference so both integrated readings sit within about 2 LU of each other. Gain moves everything together and does no damage.
- Gentle compression on the guest only, if the words still swing. Two or three decibels of reduction at most; more than that and the pumping, phone-line sound comes back.
- Mix, then set the loudness of the finished episode last. -16 LUFS integrated with true peaks under -1 dBTP for most platforms, -14 if Spotify is your main home, and never touch anything after this step.
The Numbers to Aim For
The target for the finished episode is well established and we keep a full breakdown by platform in podcast loudness standards. The short version: -16 LUFS integrated for podcast apps and Apple, -14 LUFS for Spotify and YouTube, true peak no higher than -1 dBTP in both cases. Between the two voices, aim for a difference of less than 1 LU integrated. Listeners will tolerate a couple of dB of difference on individual sentences; what they will not tolerate is reaching for the volume every time the conversation changes speaker.
↗ Try the tool
Loudness Normalizer
Loudness Normalizer measures integrated loudness and true peak, brings the file to the preset you choose, and re-measures the finished file so you know it landed.
Open Loudness Normalizer →Preventing It Next Time
Five minutes before the interview saves the whole problem. Ask the guest to use wired earbuds or a headset rather than the laptop mic, to put the mic a hand's width from their mouth, to record somewhere with a door that closes, and to say a full sentence at their normal level while you watch your meter. If they are peaking below -20 dB on your end, ask them to find the input volume in their system settings and raise it. Then record ten seconds of silence with both of you quiet, so the noise-removal pass has a clean reference for each room.
None of that requires the guest to own anything. It requires you to ask, which most hosts are reluctant to do and every professional producer does without a second thought. The guest wants to sound good too. The complete post-recording chain, from room check to delivery, is on the For Podcasters page.
Frequently Asked Questions
Why does normalising the whole episode not fix it?
Because loudness normalisation moves the whole file up or down together. If the guest is 12 decibels under the host going in, they are 12 decibels under coming out, just at a different overall level. The voices have to be matched to each other first, on their own tracks, and only then does the episode get its loudness set.
Can I just put a compressor on the guest?
A little, at the end, once the gain is matched. Used as the main fix it brings the quiet words up along with the room between them and adds the pumping quality that makes remote guests sound like a phone line. Gain first, clean second, compress last and gently.
What is LUFS and why not just use decibels?
LUFS is loudness measured the way ears hear it, averaged over the whole file, under the international standard that every podcast platform uses to normalise shows. Peak decibels tell you how loud the loudest instant was; LUFS tells you how loud the voice feels. Two tracks with the same peak can differ by 10 LUFS in how loud they sound, which is why the matching is done in LUFS.
Sources and Further Reading
- ITU-R BS.1770, the international standard for measuring programme loudness (the LUFS scale), and EBU R 128, the broadcast recommendation built on it; both are the basis of every platform's normalisation.
- Apple, Audio requirements for Apple Podcasts: the -16 LKFS loudness recommendation, the one-decibel tolerance and the -1 dB true-peak ceiling.
- Peelle, J. E. (2018). Listening Effort. Ear and Hearing, 39(2): the cognitive cost of effortful listening.
- The loudness ladder uses the standard psychoacoustic rules of thumb (about 1 dB as the smallest noticeable change in programme material, about 10 dB as a doubling of perceived loudness). The raw host and guest levels are typical figures from remote recordings, not a survey.
- VoiceEditSuite, Podcast Loudness Standards: every platform's target in one place.
Corrections
Standards and platform figures are as published at the time of writing, September 2026. Spot an error or a newer number? Tell us through the contact page and we will correct it with a note.