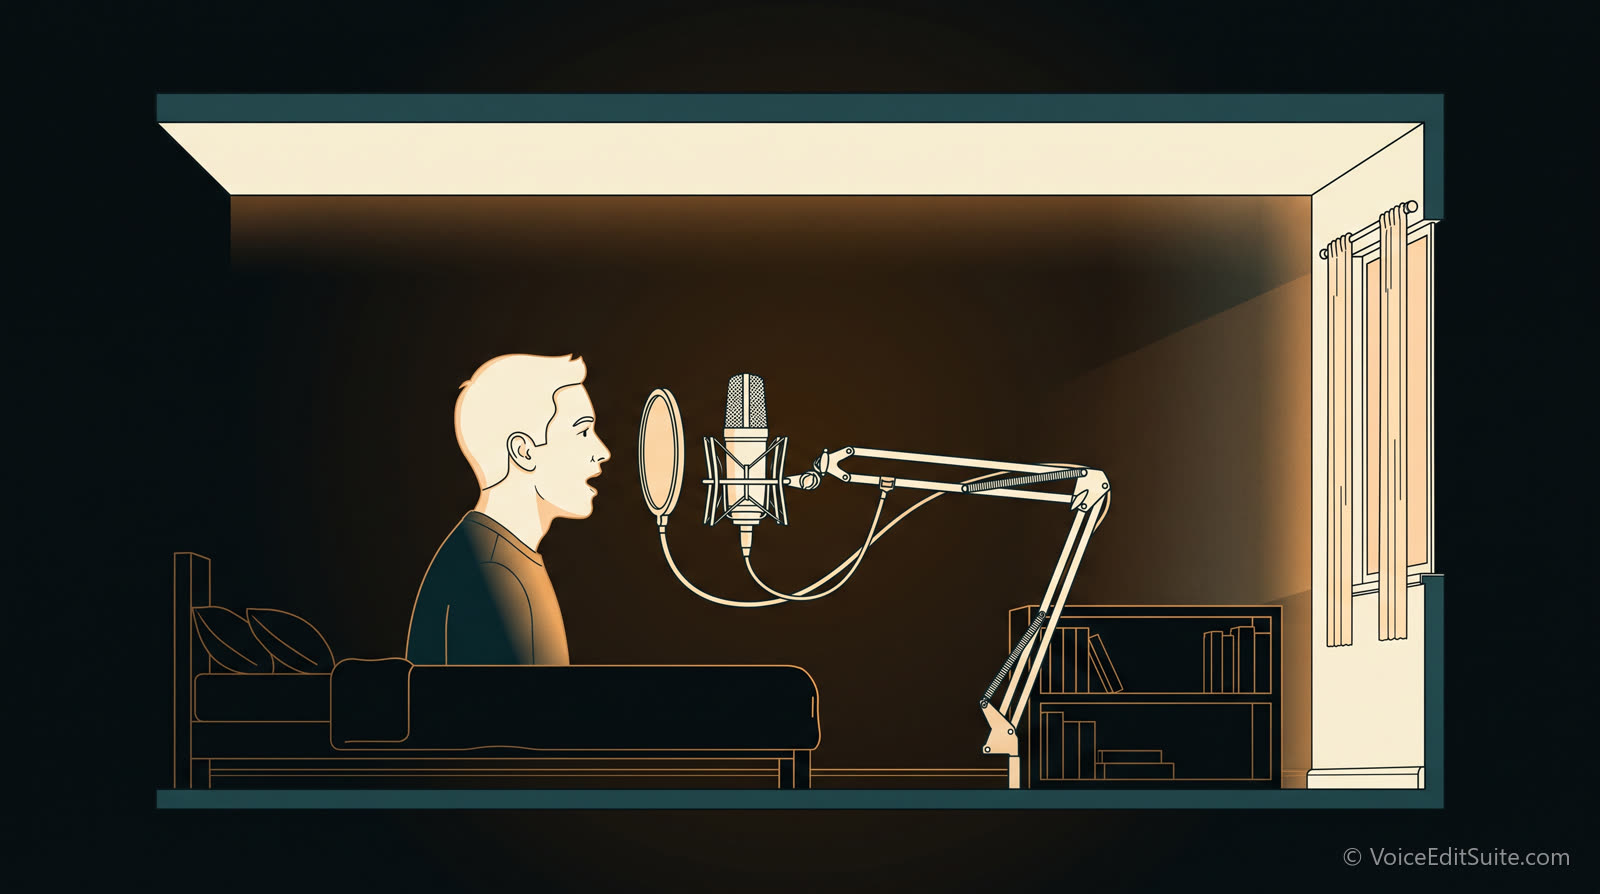
A good microphone in a bad room sounds like a bad microphone. That sentence explains most of the disappointment in podcasting, where a new host spends a few hundred on a mic, records in the spare bedroom, and cannot understand why the result sounds thin, boxy and faintly like a bathroom. The mic is doing its job. It is faithfully recording the room, and a bedroom with a hard floor, a bare wall and a window is an echo chamber at speech frequencies.
The good news is that the three problems a bedroom causes are separate, each has a cheap fix, and you can find out which one you actually have in about a minute. The bad news is that they need to be fixed in a particular order, and the one most people reach for first (a noise-removal plug-in) is the wrong tool for the most common problem.
Three Different Problems That Get Called "Noise"
Echo and reverb is the room itself reflecting your voice back at the mic a few milliseconds late. It is what makes a recording sound like it was made in a hallway. It cannot be removed well after the fact, because the reflections are the same frequencies as the voice, arriving late; anything that takes them out takes some of the voice with it. This is the one to fix before you record, and the fix is soft surfaces.
Hum is a steady low tone, usually at 50 or 60 Hz and its multiples, from a fridge, a fan, a heating system, a laptop charger, or a ground loop in the cabling. It sits under everything. It is very removable in software because it is steady and narrow, but it is even easier to remove at the source: unplug the thing for the duration of the take.
Hiss and broadband noise is the wash of air-conditioning, traffic, the computer fan, and the electronic noise of the mic and interface themselves, spread across all frequencies. This is what modern noise removal is genuinely good at, and a recording with a clean room but a noisy floor is the easiest to rescue.
The Room, in Numbers
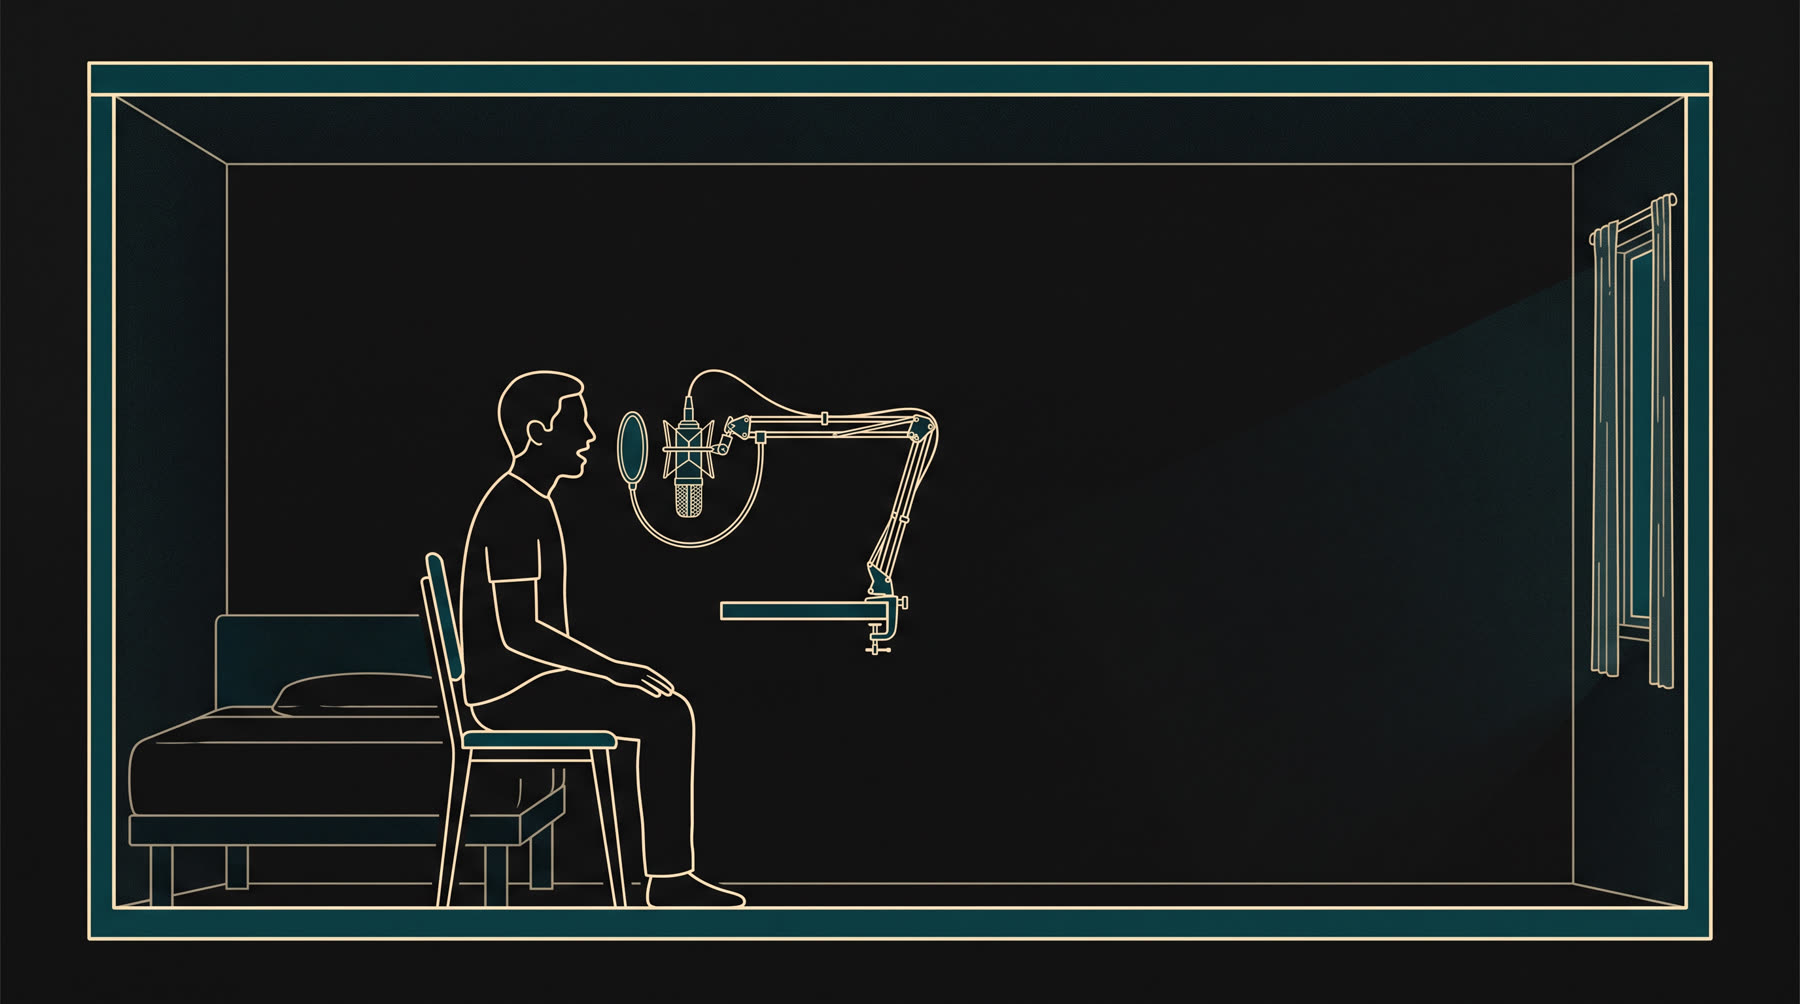
Acousticians measure a room's ring with one number, RT60: how long it takes a sound to fall away by 60 decibels once the source stops, which in practice is how long the room keeps talking after you do. The recommended figures published by NTi Audio, who make the meters, put a recording studio at 0.3 seconds, a classroom at 0.4 to 0.6, an office at 0.5 to 1.1, and a concert hall at 1.4 to 2.0. A bare bedroom, with a window, a wardrobe door, a painted wall and a laptop screen, lands somewhere between the classroom and the office. That does not sound like much until you remember that a spoken syllable lasts about a quarter of a second: at 0.8 seconds the room is still ringing with the last two syllables while you say the next one, and the microphone hears all three.
The right-hand panel is the cheapest fact in audio. Sound falls off with the square of distance, so every time you halve the gap between your mouth and the microphone, your voice arrives 6 decibels louder. The room's reflections do not care where the mic is; they fill the whole space at roughly the same level. Move from forty centimetres (arm's length, where most people start) to ten centimetres (a hand's width, where every radio presenter sits) and your voice gains 12 decibels on the room without a single purchase. That single move does more for a bedroom recording than any foam tile, and it is why the one habit that separates people who sound produced from people who sound like they are in a bathroom is simply: get closer.
Now the noise floor, which is the number for hum and hiss rather than echo. It is measured in the gaps between your words, and the audiobook industry, which has to grade thousands of home recordings a year, sets the bar at -60 dB or lower. A bedroom with a laptop fan and a fridge two rooms away typically sits around -45. That 15-decibel gap is, to a listener on earbuds, the difference between a pause that sounds like silence and a pause that sounds like a kitchen. The good news is that hum and hiss, unlike echo, can be measured, found and removed after the fact; the better news is that most of that 15 decibels comes from things you can switch off before you press record.
Put the two numbers together and you have a diagnosis you can act on. If your room rings (echo), the fix is soft surfaces and distance, and no software will fully undo it afterwards. If your room is quiet but your floor is high (hum, hiss), the fix is at the source first and in software second, and it works. Most bedrooms have a bit of both, which is why the order of the fixes below matters more than any one of them.
Find Out Which One You Have
Guessing wastes money. People buy foam panels for a hum problem and hum eliminators for an echo problem. The fastest way to know is to measure: record a short script in your normal position and run it through the free Home Studio Analysis, which reports the reverb tail, the noise floor, hum, sibilance and level consistency as separate numbers with a fix attached to each. If you would rather do it by ear, clap once and listen for a ring (echo), then sit silent for ten seconds with the recording running and listen back with the volume up (a tone is hum, a wash is hiss).
The Free Fixes, in Order
- Move the mic away from the wall and off the desk. Reflections off the desk surface and the wall behind the mic are the worst offenders. Put the mic between you and the softest thing in the room, and have the hard wall behind you, not behind the mic.
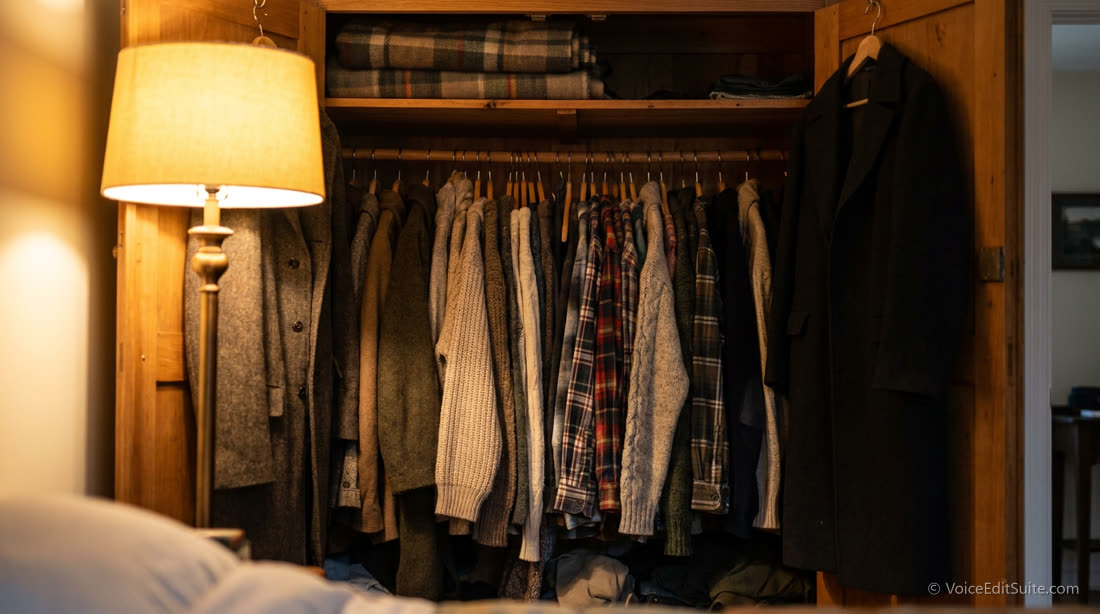
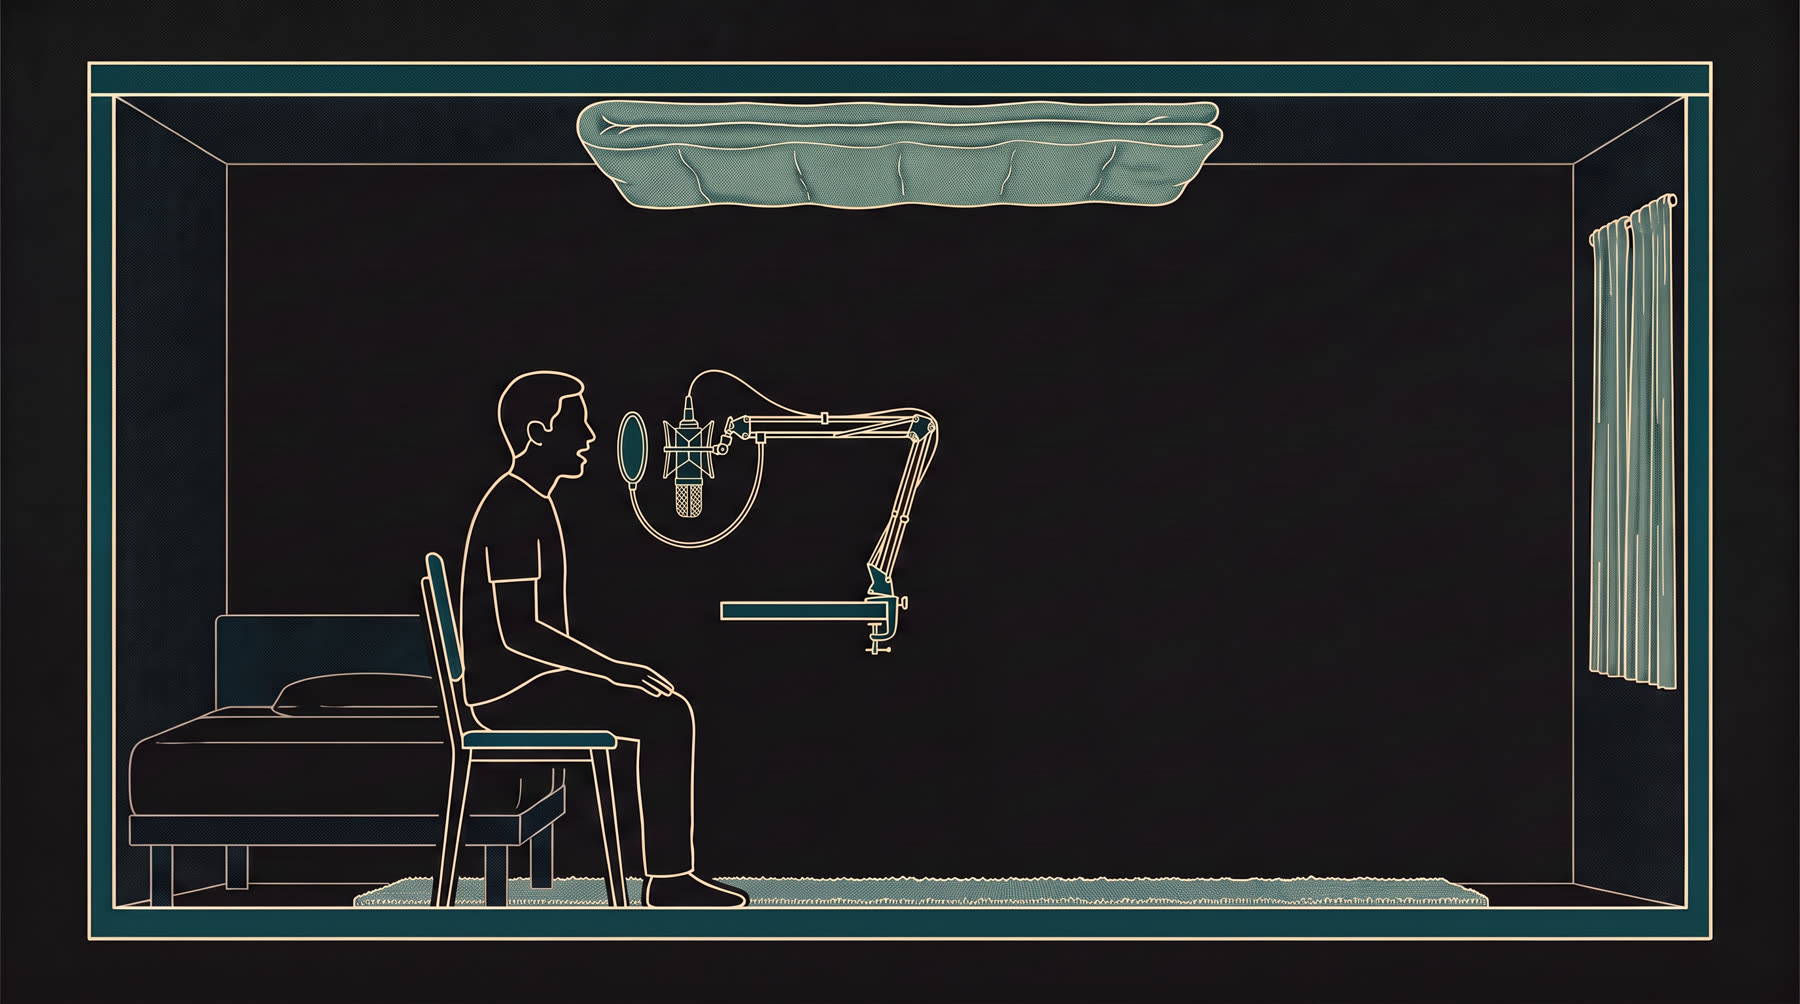
- Add soft surfaces where the reflections go. A duvet over a clothes horse behind the mic, a rug on the floor, curtains closed, the wardrobe door open. Recording facing into a full wardrobe is a cliché because it works.
- Kill the hum at the source for the duration. Fridge off (it will be fine for an hour), fan off, charger unplugged, phone in another room. Write a pre-record checklist and use it every time.
- Get closer and turn the gain down. A mic at a fist's distance with the gain lowered captures more voice and less room than the same mic at arm's length with the gain up. This one change does more for a bedroom than any purchase. Our guide to gain staging covers the numbers.
- Record a few seconds of silence at the start. Ten seconds of the room with nobody talking gives any noise-removal tool a clean reference, and gives a breath-quietening tool the room tone it fills the gaps with.
Foam panels are not the first purchase
Thin foam absorbs high frequencies and does almost nothing at the frequencies that make a voice sound boxy. If you are going to buy something, a heavy moving blanket does more than a box of foam tiles for a fraction of the price. Our acoustic treatment on a budget guide has the specifics.
A Weekend Plan That Costs Less Than a Takeaway
This is the version for someone who does not want to read about absorption coefficients. Do it in this order on a Saturday, measure before and after with the free room check, and you will hear the difference on the first episode.
- Measure first. Record thirty seconds in your normal spot and run it through the free room check, so you know which of the three problems you actually have and can prove the afternoon worked.
- Get the mic to a hand's width from your mouth, slightly off to one side so plosives miss the capsule. Free, and worth 12 decibels of voice over room.
- Draw the curtains and open the wardrobe. Glass is the hardest surface in the room; a wardrobe full of clothes is a bass trap you already own. Point the mic into the clothes if you can.
- Hang a duvet behind you on a clothes rack, or over the back of a chair, or on a hook on the door. The wall behind the mic is where the loudest reflection comes from. Ugly, invisible on audio, and it beats a box of foam tiles.
- Kill the floor at the source. Laptop on a towel or a book (fan noise), phone in another room, fridge door checked, heating off for an hour, window shut against the street.
- Measure again. If the echo number dropped and the floor dropped, you are done for under fifty dollars. If the echo did not move, the problem is the mic distance or the room is too big for a duvet, and you know before you buy anything.
Notice what is not on the list: a new microphone. A sensitive condenser in a bare room hears more of the room, which is the opposite of what you want, and the money is better spent on a heavy moving blanket. The mic is the last thing to change, not the first, and after the afternoon above you may find you do not need to change it at all.
After the Take: What Software Can Rescue
Once the room is as good as you can make it, what remains is usually a noise floor: hiss, a little residual hum, the hum of a city outside. This is where noise removal belongs. Done well, it takes the floor down by 20 dB or more while leaving the voice alone; done badly, it leaves the voice sounding underwater, with a warbling artefact behind every word that is worse than the noise was. The difference is the model. Older spectral subtraction tools guess which parts of the spectrum are noise and subtract them everywhere, including from the voice. Modern deep-learning models are trained on speech and noise separately and can tell them apart within a single frame.
Two things to demand from whatever you use. First, it should tell you what it did in numbers: the noise floor before and after, measured, so you are not relying on your tired ears at the end of an edit. Second, it should run somewhere you trust with your voice. Studio Rescue runs a DeepFilterNet model on our own servers, reports the before-and-after noise floor on every file, and deletes the audio when it is done. It is the tool for a guest who recorded in their kitchen; run their track through it before the mix and the two of you sound like you were in the same room.
↗ Try the tool
Studio Rescue
Studio Rescue strips hiss, hum and room noise while leaving the voice untouched, and measures the noise floor before and after so you see the real improvement.
Open Studio Rescue →What It Cannot Do
Be realistic about echo. A recording made in a bare room with the mic at arm's length can be improved, but it cannot be made to sound close and dry, because the reverb is not a separate sound that can be lifted off; it is the voice, arriving late. If your Home Studio Analysis reports a long reverb tail, spend the effort on the room, not the plug-in. Everything else on this page is recoverable after the fact. Echo is the one you have to get right at the take.
The order matters: room first, hum at the source, then software for what is left, and loudness last. The whole chain for an episode, including the free room check, is on the For Podcasters page, and if you record in a flat with neighbours, recording in an apartment covers the problems that guide does not.
Frequently Asked Questions
Is recording in a wardrobe actually a good idea?
Yes, and it is not a joke, it is physics. Hanging clothes are thick, irregular and absorbent at exactly the frequencies that make a voice sound boxy, and a wardrobe puts them on three sides of you at once. Audiobook narrators have worked in closets for decades for that reason. If yours is too small to sit in, pointing the mic into it from outside gets you most of the benefit.
Will foam panels fix the echo?
Thin foam absorbs high frequencies and does little at the frequencies that make a room ring, so a box of tiles on one wall is usually a disappointment. Thick, heavy, soft things work: a duvet, a moving blanket, a rug, a bookcase full of books. If you want to spend money, spend it on mass, not foam.
Can software remove the echo afterwards?
It can reduce it, and the newer voice-separation tools do better than the old filters, but reverb is your own voice arriving late, mixed into the same frequencies as the direct sound, and it cannot be lifted off cleanly. A bare room at arm's length will never sound like a booth after the fact. Hum and hiss are a different story: those sit in the gaps, and good noise removal takes them out while leaving the voice alone. Fix echo with the room; fix noise with the room first and software second.
Sources and Further Reading
- NTi Audio, Reverberation Time Measurement (RT60): the recommended RT60 figures by room type (recording studio 0.3 s, classroom 0.4 to 0.6 s, office 0.5 to 1.1 s, concert hall 1.4 to 2.0 s) and the note on speech intelligibility.
- The 6 dB per halving of distance figure is the inverse square law for a point source in free field; real rooms deviate a little, in the direction that makes getting closer matter more, not less.
- The -60 dB noise-floor bar is the audiobook submission standard used by the largest audiobook marketplace; see our ACX loudness guide for the full specification.
- VoiceEditSuite, Does Bad Audio Make People Stop Listening?: the research on what a ringing room does to a listener's judgement of the speaker.
Corrections
Reverberation figures are NTi Audio's published recommendations; the bedroom placement between classroom and office is our reading of a typical furnished room, not a measurement of yours, which is what the free check is for. Spot an error? Tell us through the contact page and we will correct it with a note.